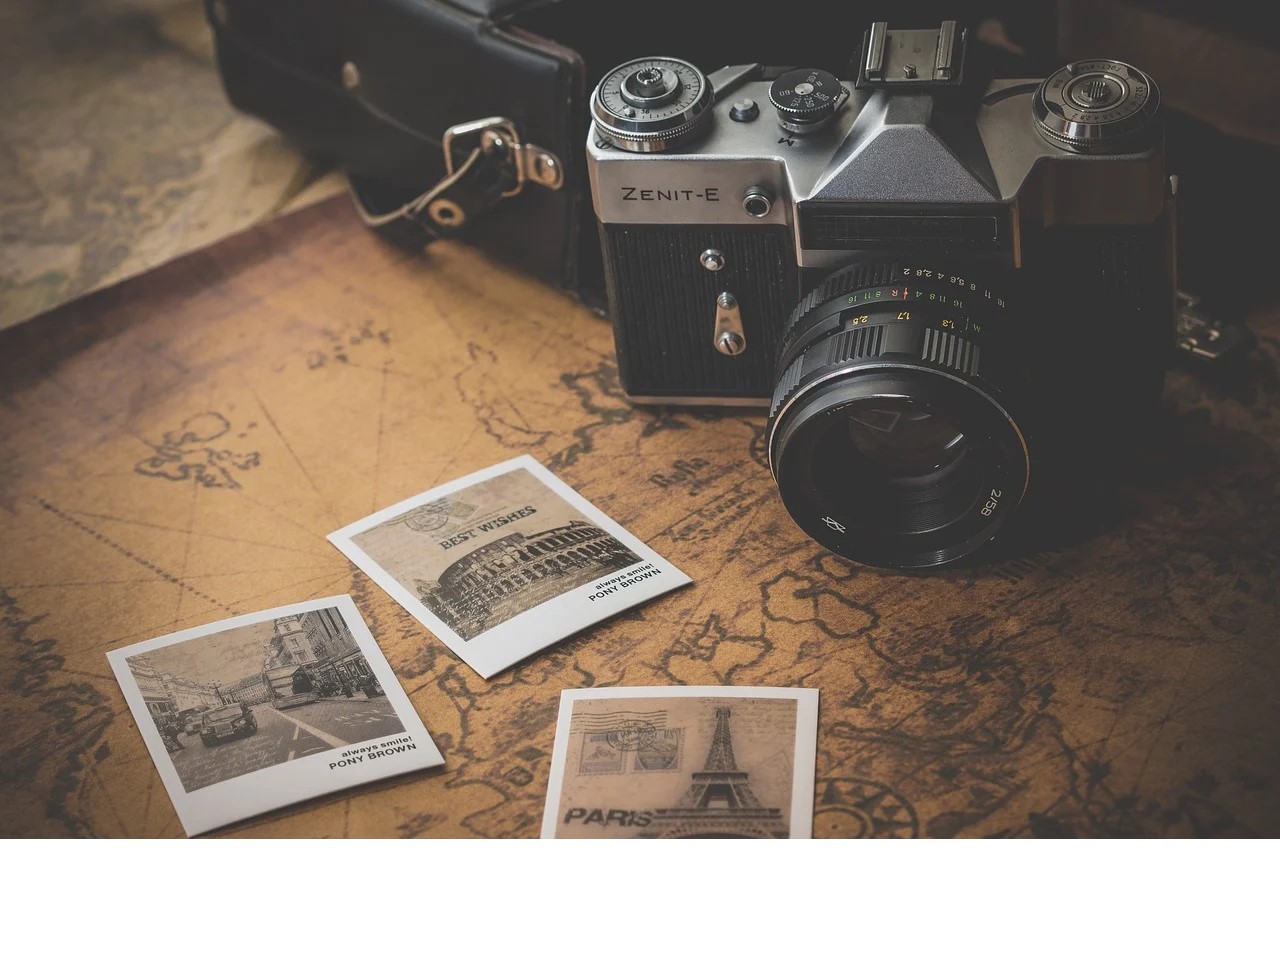
Photography is an exciting and enjoyable hobby. It's also simpler to implement today than ever. The times of having compact darkrooms or having to wait for a single shot are entirely gone. Instead, you may jump right in and begin snapping photos at anything that catches your eye. We have more freedom to dedicate to how and where to produce beautiful photographs now that the technological barriers to photographing have been significantly decreased. From rotating the image to resizing it, the whole process is there provided by many applications and websites such as HandyIMG. The online thing left is the photography itself; hence we have gathered seven practical tips and tricks about photography!
1. Make Use of Your Composition
To capture compelling photographs, you must be fully immersed in the task at hand. Don't just coast along on autopilot. Rather, think about your compositions and attempt to produce the best photographs you can. Knowing the fundamentals about how to create good photographs is the first step. Don't use the edges of your framing to cut out crucial elements of your topic. Maintain your horizon straight, and alter your layout to remove any distracting elements from your shot. Examine your photograph for proportion and clarity. Yet when your first attempt at a shot doesn't turn out well, keep trying until you get it perfect.
2. Take Notice of the Light
Light is, without a doubt, the most essential aspect of photography. When you snap photos in a favorable light, you've already gone a long way toward capturing a decent shot. But what exactly qualifies as excellent lighting? Sunsets aren't the only thing to look forward to. The objective is usually to achieve a balance of brightness with your object and its background. Even when you're capturing a beautiful sunset, a fully black and silhouetted context might spoil the image. The simplest answer is to give heed to the light's angle and warmth. If somehow the light is excessively bright, you risk getting ugly shadows over your object, which is particularly troublesome when photographing people. On the other hand, if the lighting is approaching from an unfavorable angle, try to shift the light (in a workshop) or the person (outdoors) - or postpone till the light improves for landscape photography.

3. Your Feet Should Be Moving
While photographing, it's common to become trapped in one spot. Don't be caught in that pitfall. Instead, make as much movement with your legs (or your gear) as feasible. Stand at the top of items, adjust the camera's elevation, move forward and backward — whatever it takes to stay moving. Guess what happens if you snap a dozen photographs within the same altitude, looking the same position, and you don't move your foot or gear in any way? They will not be that dissimilar. So you're losing out on those amazing images if your whole portfolio is shot from the very same height with no experimenting.
4. When Should You Use a Flash?
Flashes are not only for low-light situations. Don't get it wrong: if you want some additional light, they're fantastic. Invest in an external flash, point it at the top using a pretty long lens. The beauty of your occasion photographs will wow people you know. It's the simplest approach to achieve good outcomes without having any prior knowledge of the subject. Outdoor, also, flashes are beneficial, sometimes in the midst of a day. That's the reason"fill flashes' are so essential. By employing a mild flash, one can fill up unsightly shades on the subject, yet most people who look at the shot won't notice.
5. Learn the fundamentals of post-production
Post-production isn't always at the top of a photographer's list of concerns, but that should be. A nice shot may sometimes be transformed into something absolutely spectacular with the appropriate post-processing. When post-processing, it really is simple to go overboard; therefore, the most vital point is to ensure sure neither of your modifications is permanent (also known as "destructive editing"). The goal of post-processing is to create an atmosphere and guide the viewer's eye through an image. With time, you'll grow progressively better at it. So what is my strongest recommendation? Be unobtrusive. You wouldn't want your photos to appear too manipulated.
6. Repair Your Weak Spots
It's enticing to resort to Auto mode instead of practicing something you don't grasp since you're struggling to get your brain over shutter speed, apertures, and ISO. But, unfortunately, that's a major blunder! If you're learning portrait photography and have trouble acquiring excellent light with your flash, it might be easy to shoot all of your interior photos near a door for great light, which is also a major blunder! It's alluring to capture all your photos in JPEG instead of converting them into JPEG and get something nice out of the lens if you're attempting post-processing yet your tools are unclear. But, you got it, this is another enormous blunder! Don't try to work through your flaws. They should be fixed. The most incredible solution to enhance your photography is to identify what you do not know and devote the time required to study it. This is especially true for new photographers, with the most to understand, but even experienced photographers might benefit from following this advice.
7. When Will You Be Using a Tripod?
Tripods are among the essential photographic innovations. They almost remove one of the most challenging issues: a scarcity of light. You may photograph multi-minute shots with tripods & catch features that are so dim that they will be undetectable to the naked eye. In even brighter conditions, tripods assist you in shooting more explicit photographs by improving the steadiness of your framing. So, when is it appropriate to utilize a tripod? Most often, if the subject is static. Landscape photography, architectural photography, or still life photography that don't utilize a tripod need have a good reason. Since using a tripod might indeed hold you back, event photography or action photography is distinctive. The same would be true for vacation photography; bringing a tripod will not be a good idea.